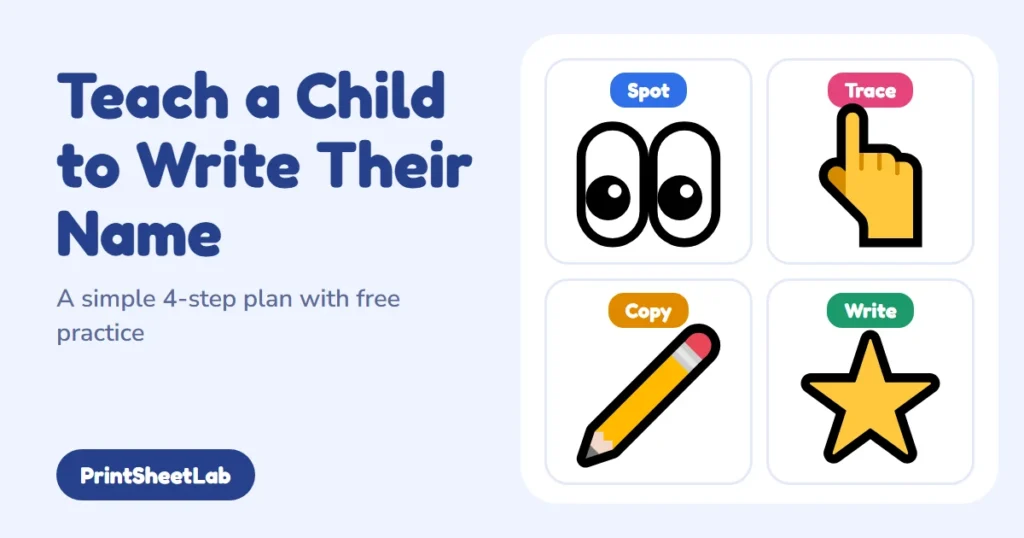
The simplest answer to how to teach a child to write their name is four steps: help them recognize it, trace it, copy it, and finally write it from memory. Most children need weeks of short, playful practice to get through all four, so this guide on how to teach a child to write their name shows what each step looks like, the best letter order, and the mistakes that slow children down.
When is a child ready to start writing their name?
Before you start on how to teach a child to write their name, check readiness. Readiness shows up in the hands and in the child’s interest, not on a birthday. The CDC’s “Learn the Signs. Act Early.” checklists give a useful picture. At 3 years, most children draw a circle when shown how and string large beads. At 4 years, most hold a crayon or pencil between fingers and thumb instead of in a fist, and draw a person with three or more body parts. At 5 years, most write some letters in their name.
That last item is worth noticing. The CDC says “some letters,” not the whole name, and it places the milestone at 5. A four-year-old who writes a wobbly first letter is doing well, and a five-year-old who writes only the first two letters is on a normal path. If your child is not there yet, building hand strength first often helps more than extra name drills.
| Sign of readiness | What you see | If it is missing |
|---|---|---|
| Interest in letters | Points at the first letter of their name in books and signs | Play with magnetic letters and name cards |
| Drawing control | Draws circles, lines and a cross when shown | Practice tracing worksheets for lines and curves |
| Hand grip | Holds a crayon between fingers and thumb | Use short crayons and dough play |
| Attention | Stays with a drawing for a few minutes | Keep sessions to three to five minutes |
How to teach a child to write their name in four steps
This is how it works, without tears. Each step below builds on the one before. Move on only when the child is comfortable, and feel free to go back a step on a tired day. Short, happy sessions of three to ten minutes beat long ones.
| Step | Goal | Typical activities | Time to expect |
|---|---|---|---|
| 1. Recognize | Spot the name among other words | Name card at the breakfast place, letter hunt, matching magnets | Days to weeks |
| 2. Trace | Feel the strokes and the letter order | Finger tracing, then dotted-line worksheets | Two to four weeks |
| 3. Copy | Write with the model in view | Name card above a blank line, with a green start dot | Two to six weeks |
| 4. Write from memory | Produce the letters without a model | Signing drawings, labeling artwork | Varies widely |
When parents ask how to do it quickly, the honest answer is that rushing backfires. The time column is an average picture, not a promise. Children vary widely, and a long name takes longer than a short one.
Step 1: Help your child recognize their name
The first stage of how to teach a child to write their name needs no pencil at all. Name recognition comes first because a child cannot write what they cannot see. Put the name on a card and use it every day: on a cubby, a cup, a drawing, a bedroom door. Write it in clear capital-then-lowercase print, for example Mia, rather than all capitals, so the child sees the form they will meet in books.
Then play simple letter games. Hide the letters of the name in a tub of rice and ask the child to find them in order. Match magnetic letters to a name card. Ask “Which one starts like your name?” when you see a sign or a book cover. If your child is also learning the alphabet in general, our guide on uppercase vs lowercase letters explains which forms to show first.
Step 2: Trace the name
Tracing is the heart of teaching name writing at home. Tracing builds the stroke patterns the hand needs. Begin with the finger. Have the child trace each letter on the name card, in sand or on a salt tray, saying the letter name aloud. Next move to a crayon and a name tracing page. Our name tracing worksheets and free name tracing worksheets for preschool let you type in the name so the dotted letters match your child’s.
When tracing, mention the starting point and direction of every stroke: “Start at the top, go down, lift, then across.” This is the single most important habit, because a letter drawn from the wrong starting point is hard to unlearn later. Name tracing for preschoolers works best in small bursts, one letter or one name per sitting.
Which letters should you teach first?
When planning the lessons, remember that letters are not equally easy. Straight lines are simpler than curves, and curves are simpler than diagonals combined with turns. Grouping the alphabet by stroke type helps you predict which names will be quick and which will need patience.
| Stroke type | Capital letters | Count | How hard for beginners |
|---|---|---|---|
| Straight lines only (vertical and horizontal) | E, F, H, I, L, T | 6 | Easiest |
| Curves and circles | C, G, J, O, Q, S, U | 7 | Medium |
| Straight line plus curve | B, D, P, R | 4 | Harder |
| Diagonals | A, K, M, N, V, W, X, Y, Z | 9 | Hardest |
Those groups add up to 26 letters, one for each capital in the alphabet. A child named Leo has two straight-line and one curved letter, so it can be an easy early win. A child named Max or Zoey has diagonals from the first letter, so give them extra time and more tracing before expecting independence.
Should the name start with capitals or lowercase?
Most name writing begins with a capital first letter followed by lowercase, because that is how the name is normally printed. A parent may be tempted to teach the whole name in capitals, since capitals are mostly straight lines, and many children do start that way. A reasonable compromise is to model the capital-plus-lowercase version from the beginning, let the child try it at their own level, and not fuss if early attempts mix sizes.
The Common Core kindergarten language standard asks children to print many upper- and lowercase letters (L.K.1.a). Notice the word “many,” not “all”: the expectation is built over the kindergarten year, so a preschooler writing the first one or two letters of their name is making an excellent start.
Step 3: Copy the name with a model
In any plan, copying is the stage where letters start to look like the model. Copying is the bridge between tracing and independent writing. Put the name card directly above a line, so the child can look up and down. Mark the starting dot for the first letter in green and, if useful, add a small dot where the next letter should begin. Use plain lined paper and a chunky pencil or crayon.
- Say the name and the first letter aloud. “Mia starts with M.”
- Model one letter. Write it slowly beside the child’s page while saying the strokes.
- Let the child copy it. Stay quiet while they work, then praise one specific thing: “Your A has a pointy top.”
- Add the next letter. Leave a finger-width gap so the letters do not collide.
- Stop on a win. End the session after one good attempt, even if the name is unfinished.
For children who find lined paper hard, try a wide-spaced line, a whiteboard, or a large piece of paper on an easel. Bigger movements are often easier than small ones, and the child can shrink the letters later.
Step 4: Write the name from memory
The final stage is independence. Once the child can copy the name neatly, remove the model. Ask them to sign their drawings. Let them write their name on a birthday card, a lunch bag or a toy box label. Real purposes make writing your name practice meaningful, and children are proud to see their name on something that matters to them.
At this stage letters may still be reversed, uneven or in the wrong order. That is normal. Keep the name card nearby as a safety net and praise any correct letter. If a child writes the first letter correctly and fills the rest of the line with practice letters, celebrate it. This is exactly the “some letters” the CDC describes for 5-year-olds.
A four-week writing your name practice plan
If you want a routine for how to teach a child to write their name, this simple plan fits a short daily session. The sessions are deliberately brief: attention in young children is limited, and consistency matters more than length.
| Week | Focus | Daily activity (5 to 10 minutes) |
|---|---|---|
| 1 | Recognize | Name card hunt, letter magnets, point to the first letter in books |
| 2 | Trace with fingers and crayons | Finger-trace on a card, then trace a name page one letter at a time |
| 3 | Copy with a model | Copy the name under a card, add one letter more each day |
| 4 | Write independently | Sign drawings, label artwork, write the name on a small whiteboard |
Because every child is different, the plan should follow your child’s pace. Four weeks is a typical window, not a deadline. If week two goes slowly, stay there. Some children need only a couple of weeks, and others will take months, especially for longer names.
Everyday ways to practice without worksheets
Paper is only one tool. Children often learn faster when the activity feels like play, and the same four steps work in sand, paint and dough. Here are ideas that fit into ordinary days.
- Shaving foam or finger paint: spread a thin layer on a tray and write the name with a fingertip.
- Chalk outside: big letters on the pavement use the whole arm, which builds shoulder control.
- Play dough snakes: roll the strokes and shape them into letters.
- Magnetic or foam letters: put the name in order, then mix the letters up and rebuild it.
- Bath-time sticky letters: wet foam letters cling to the tub wall, so the name can be built and read there.
- Labels around the house: let the child sign their own drawings, shelf or cubby.
No pencil is needed for any of these, and each one gives a quiet lesson in letter shape and order. Rotate them so the practice does not feel repetitive.
Common mistakes when teaching name writing
These are the slips parents and teachers make most often when teaching name writing. Each has a simple fix.
| Mistake | Why it causes trouble | What to do |
|---|---|---|
| Starting too early | The hands are not ready, so the child gets frustrated | Build strength first with play dough and cutting; see our what a preschooler should know guide |
| Teaching all capitals only | The child must relearn the lowercase forms later | Model capital then lowercase from the start |
| Ignoring stroke order | Bad habits form and are slow to fix | Say the starting point aloud every time |
| Correcting every letter | Discourages the child and slows progress | Praise one thing and fix one thing |
| Long sessions | Tired hands lead to messy letters and a bad mood | Keep to ten minutes or fewer |
| Using a nickname on the page but a full name at school | The child is confused about which version to write | Choose the name the child will use at school, and add nicknames later |
What if letters are backwards or the name is very long?
Reversed letters, especially b and d, and S and Z, are common in early writing and usually fade with practice and instruction. Keep the model in view and trace the letter again, rather than correcting repeatedly. If reversals continue well into the school years, or you worry about your child’s writing, ask your child’s teacher or doctor.
For long or hard names, break the name into chunks. A child named Alexander can learn “Alex” first, then add “ander” later, and a child with a hyphenated name can start with the first part. A short version for early practice does not replace the full name, it simply gets the child started. This flexibility is part of teaching at the right pace. Our letter tracing worksheets and letter practice worksheets help with the letters the name uses.
When should you talk to a professional?
Children vary a great deal. The CDC reminds parents that if a child is not meeting milestones, has lost skills they once had, or you have other concerns, you should talk with the child’s doctor and ask about developmental screening. A pediatrician or an occupational therapist can look at grip, strength and coordination in more detail. This guide is general information and cannot diagnose anything.
Free name writing printables on PrintSheetLab
These pages support each step of how to teach a child to write their name, from first tracing to independent writing.
- Name tracing worksheets: a ready-made way to start teaching name writing; create a custom tracing page for your child’s name.
- Free name tracing worksheets for preschool: gentle dotted practice for younger children.
- Letter tracing worksheets: practice the strokes for every letter.
- Letter practice worksheets: extra reps for tricky letters.
- Kindergarten writing worksheets: the next step once the name is secure.
- Preschool tracing worksheets: lines and curves for hand control.
Sources
Milestones are from the CDC’s 3 years, 4 years and 5 years checklists. The kindergarten printing expectation comes from the Common Core language standards for kindergarten. The four-step method, the letter groups and the practice plan are our own teaching suggestions, built from the stroke shapes of the capital letters.
Frequently asked questions
7 quick answers
At what age should a child be able to write their name?
Parents often ask when to begin how to teach a child to write their name. The CDC lists writing some letters in their name at 5 years, so many children reach it around kindergarten entry. Some start earlier and some later. A child who traces or copies the first letter at 4 is on a good path.
What is the easiest way to teach a child to write their name?
The easiest answer to how to teach a child to write their name is four small steps: recognize the name, trace it, copy it with a model, then write it from memory. Use short sessions, a name card, and plenty of praise. Keep stroke order consistent and start with the first letter only.
Should I teach my child to write their name in capitals or lowercase?
Model a capital first letter followed by lowercase, since that is how names are normally written. Many children begin with capitals because they are mostly straight lines, which is fine, but showing the standard form early avoids relearning later.
How long does it take to learn to write a name?
Parents who ask how to teach a child to write their name also ask how long it takes. It depends on age, hand strength and name length. Many children take a few weeks to a few months. Short names like Leo or Mia are quicker than long names with diagonals. Practice a few minutes a day instead of long sessions.
Why does my child write letters backwards?
Reversals are one of the common bumps in how to teach a child to write their name. They are very common in early writing, particularly letters such as b, d, S and Z. Show the model again, trace the letter and keep practice relaxed. If reversals persist for a long time or worry you, ask the teacher or your doctor.
Are name tracing worksheets helpful?
Yes, as one step in how to teach a child to write their name. Name tracing for preschoolers shows the stroke order and letter spacing. Pair tracing with copying and real-life writing so the child moves from following dots to producing letters unaided.
What if my child refuses to practice?
If a child resists lessons on how to teach a child to write their name, switch to play. Write the name in shaving foam, sand or with chalk outside, build it with magnets, or let the child sign their own drawings. Short, pressure-free sessions work best, and it is fine to wait a few weeks.