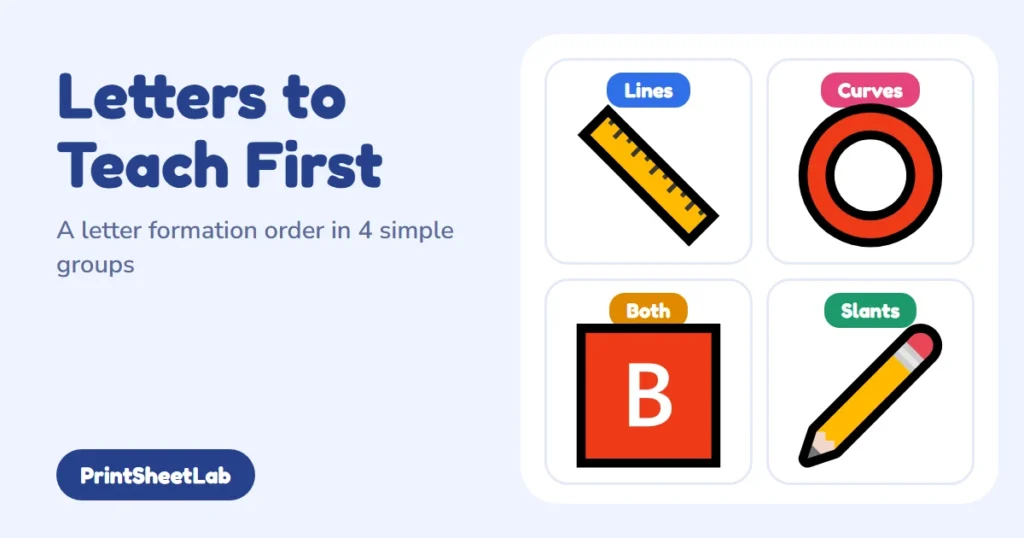
The best letter formation order groups letters by how they are written, not by the alphabet: start with letters made of straight lines (L, F, E, H, T, I), move to curves (C, O, Q, G, S), then slanted letters, and teach the lowercase “round” letters before the tall and tricky ones. This guide explains the reasoning, gives a full sequence for capitals and lowercase letters, and shows how to fit it into short daily sessions at home or in class.
Why letter formation order matters more than A to Z
Alphabetical order is easy to remember, but it is a poor guide for little hands. The first four letters, A, B, C and D, mix slanted lines, curves and a bumpy double loop, which are some of the hardest strokes in the alphabet. Meanwhile, L, T and I are simple and sit at the very end of the list. Teaching in alphabet order means a child meets the hardest movements first, which is the opposite of a sound letter formation order.
A planned sequence fixes this problem by treating handwriting as a set of movements. Children first learn vertical and horizontal lines, then curves, then diagonals. Each group builds on the strokes that came before, so a new letter feels like a small step instead of a leap. This is the idea behind popular programs such as Handwriting Without Tears, which teaches capitals first and groups them by stroke pattern rather than alphabet position.
It also helps to separate two goals that often get mixed up. Knowing a letter means recognizing it and naming it, which the Common Core describes in standard RF.K.1.d as recognizing and naming all upper- and lowercase letters of the alphabet. Forming a letter means writing it with the right strokes. A child can know all 26 letters by sight long before the hand can write them, and the two skills do not have to move at the same speed.
Which letters to teach first: the short answer
If you only need a quick plan, use the letter formation order below. It follows stroke difficulty for capital letters, which is where most children start, and it matches the three groups of free tracing sheets on our site.
| Step | Group | Letters | Strokes used |
|---|---|---|---|
| 1 | Straight-line capitals | L, F, E, H, T, I | Vertical and horizontal lines only |
| 2 | Curved capitals | C, O, Q, G, S | Open and closed curves |
| 3 | Line-and-curve capitals | D, P, B, R, U, J | A line joined to a curve |
| 4 | Slanted capitals | V, W, X, Y, Z, A, K, N, M | Diagonal lines |
Those 26 letters are the same ones every child needs, just arranged so the strokes get harder gradually. The next sections explain each group and how the lowercase letters fit into the same plan.
What the CDC says about when children write letters
It helps to know what is typical before choosing a teaching sequence. The CDC milestone checklist for 3-year-olds includes drawing a circle when you show the child how. By 5 years, the checklist lists writing some letters in the child’s name and naming some letters when you point to them. That means writing letters is a skill that grows across the preschool years, and it starts with scribbles, lines and circles rather than letters.
These milestones are general guides, and children vary. A four-year-old who is not yet writing letters is not behind; she may simply be building the strength and control that come first. If you have real concerns about hand skills, talk with your pediatrician or an occupational therapist. For the building blocks, our guide to fine motor skills activities at home is a useful starting point.
Letter formation groups for capital letters
Capitals are usually taught first because their strokes are simpler. They start at the top, they rarely need retracing, and not one of them dips below the line. The OT Toolbox notes that capital letters are also the first letters children meet in toddler books and puzzles. Here are the letter formation groups in the order we suggest, and this order works for most preschoolers.
Group 1: straight-line capitals (L, F, E, H, T, I)
These six letters use only vertical and horizontal lines, the same strokes children practice in pre-writing. L is the simplest: one line down, one line across. Move to F and E by adding bars to a vertical line, then H and T, which need two separate strokes that meet. Finish with I. A child who can draw a plus sign and a square is usually ready to start here. For practice, see the free straight-line letter pages in our kindergarten writing worksheets.
Group 2: curved capitals (C, O, Q, G, S)
Curves are harder than lines because the hand must change direction smoothly. Start with C and O, which share the same counterclockwise curve. Q is an O with a tail, and G is a C with a shelf. S comes last in this group because its two curves flow in opposite directions. Because C, O, Q and G all begin with the same stroke, learning one makes the next one feel familiar.
Group 3: line-and-curve capitals (D, P, B, R, U, J)
These letters pair a straight stroke with a curve. D, P, B and R all start with the same vertical line, so teach them together: draw the line first, then add the curves. R adds a diagonal leg, which is why it comes after P and B. U and J are curves with a straight side. Treat this as a bridge between lines and diagonals.
Group 4: slanted capitals (V, W, X, Y, Z, A, K, N, M)
Diagonal strokes are the hardest for young writers, because the pencil must travel in two directions at once. Begin with V, which is a pair of mirrored diagonals, then W, X, Y and Z. A, K, N and M come last because they combine a vertical line with diagonals and need careful starting points. Draw large first on a chalkboard, whiteboard or sand tray before moving to paper.
Lowercase letter formation order
Lowercase letters make up most of what children read and write, but they are harder to form, so the lowercase letter formation order needs more care. They have ascenders that rise above the middle, descenders that drop below the line, and several that need retracing. Teaching systems group them differently, so there is no single official sequence. The grouping below is a common, practical approach that mirrors how letters are built.
| Group | Letters | Key movement |
|---|---|---|
| Round letters | c, o, a, d, g, q, s | Start with a counterclockwise “c” curve |
| Straight and tall | l, i, t, u, j, y | Down lines, with a short curve at the base for some |
| Down and up | h, n, m, r, p, b | Pull down, then climb back up the same line and curve over |
| Diagonals and leftovers | k, v, w, x, z, e, f | Slanting strokes and letters with unusual starts |
Programs such as Handwriting Without Tears take a similar approach. According to the OT Toolbox’s write-up, its lowercase sequence begins with letters that match their capital partners (c, o, s, v, w, t), then a group of letters that start with a “magic c” (a, g, d). The “magic c” idea gives a child one starting move for several letters. It also helps separate d from b, because d begins with a curve while b begins with a line.
Notice that q is placed late in most plans. It looks like a backward p and shares the “c” start with g, so many teachers hold it until g feels secure. Letters that drop below the line, such as g, j, p, q and y, are also often taught as their own small group, after the letters that sit on the line.
Uppercase or lowercase first?
Most early childhood programs start their letter formation order with capitals because the strokes are simpler and there is less to confuse. There is no retracing, nothing dips below the line, and capital B and D look quite different from each other. The OT Toolbox notes that research on the question is inconclusive, since both approaches have benefits. A practical rule: preschoolers do well starting with capitals, and kindergartners can add lowercase as soon as capitals feel comfortable.
Do not wait until every capital is perfect before showing lowercase letters. Children see lowercase letters everywhere, including books and signs. A good middle path is to learn a capital, then its lowercase partner in the same week. Our guide to uppercase vs lowercase letters covers how to decide, and our letter tracing worksheets include capital-only, lowercase-only and combined sets.
An alternative: teaching letters by sound
Some teachers choose which letters to teach first based on sounds instead of strokes, and that changes the letter formation order they use. A common sequence in phonics programs begins with S, A, T, P, I and N, because these six letters can build many simple words such as sat, pin, tip and nap. The advantage is that children can read and write real words very quickly. The disadvantage is that the stroke order is mixed: S and A are harder to form than T or I.
If you follow a sound-based plan, you can still use stroke thinking. Teach the sound and name first, practice forming the easy letters in the set right away, and let the harder ones be traced, built with play dough or written large in the air. Our beginning sounds worksheets include a set for exactly those six letters.
| Approach | Best for | Watch out for |
|---|---|---|
| Stroke-based groups | Handwriting practice, preschool, kids who struggle with pencil control | Sounds and reading come later in the plan |
| Sound-based (SATPIN) | Early reading, kindergarten phonics programs | First letters include some hard-to-write shapes |
| Alphabetical order | Songs, sorting, alphabetical-order skills | Hard strokes arrive first |
| Name letters first | Motivation for the youngest writers | Names often include tricky letters |
Every one of these is a valid choice. Many families blend them into one plan: they use the child’s name for motivation, a stroke plan for handwriting and a sound plan for reading.
How to teach letter formation step by step
Once you have chosen a letter formation order, the way you teach each letter matters as much as the sequence. Here is a simple routine for how to teach letter formation that works for a single letter in about ten minutes.
- Name and say the sound. Show the letter, say its name and the sound it makes, and point to a picture that starts with it.
- Trace it big. Have the child trace the letter with a finger on a large card, in sand, or on the table, saying the strokes aloud: “down, across.”
- Build it. Use play dough snakes, craft sticks or pipe cleaners to make the letter. This builds the shape without needing pencil control.
- Write it in the air. Model the letter in large arm movements, then let the child copy while looking at the letter.
- Trace on paper. Use a worksheet with dark guide letters, starting dots and handwriting lines.
- Copy, then write from memory. Show a model, cover it, and let the child try. Praise the strokes, not only the final result.
Always say the same words for each stroke. A child who hears “start at the top, pull down” every time builds a reliable motor plan. If you teach letter formation at home, keep the verbal cues short and consistent so they become automatic.
Our letter practice worksheets have one pack for each letter, with tracing, a find-the-letter page, a maze and a coloring page. The alphabet worksheets offer a letter of the week set and a pack of look-alike letters for later review.
Reversals and other common mistakes
Even a well-chosen letter formation order produces slips, so plan for them.
Almost every child reverses a letter at some point, especially b and d, p and q, and sometimes S, N and Z. Reversals are common while children are learning, and they do not mean a child has a learning problem. A steady sequence and consistent starting points reduce them. Here are the most common problems and how to respond.
| Problem | Why it happens | What to do |
|---|---|---|
| b and d swapped | The shapes look alike; the line and curve change sides | Teach d with the “c” start and b with a line start, and do not teach them in the same week |
| Letters drawn bottom-up | Child starts where it feels easy | Mark a green dot at the starting point and say “start at the top” |
| Capitals mixed into lowercase words | Capitals are easier to form | Keep lowercase practice in short, successful doses |
| Letters floating above or below the line | The child is not using the lines yet | Use paper with a clear baseline and a colored top line |
| Gripping the pencil too tightly | Effort is high and the hand tires | Shorten the session, use large paper, practice vertical surfaces |
| Moving on too quickly | The plan runs by the calendar, not the child | Repeat a group until strokes are automatic |
Do not drill a child who is frustrated, and never skip ahead in the sequence just to keep to a schedule. If a letter keeps going wrong, step back to a simpler stroke or an easier letter, and return to it in a few days.
A four-week sample plan
This plan fits a child who can already draw lines and a circle. It uses about ten minutes a day, four days a week. Move at the child’s pace.
| Week | Focus letters | Daily practice |
|---|---|---|
| 1 | L, T, I | Say the strokes, build with dough, trace three letters on one page |
| 2 | F, E, H | Review week 1 for two minutes, then add the new letters |
| 3 | C, O, S | Draw big circles in the air; compare C and O |
| 4 | Q, G, and review | Write the child’s name letters that appear so far |
At the end of week four, check what is automatic. If a child can write a letter from memory without a model, move it to the “known” pile and continue with the next group. The goal of any letter formation order is steady, correct habits, not speed.
Free letter formation printables on PrintSheetLab
These pages follow the order described above.
- Letter tracing worksheets with uppercase, lowercase and full A to Z sets on handwriting lines.
- Kindergarten writing worksheets with straight-line, curved and slanted letter groups.
- Letter practice worksheets for one letter at a time, from A to Z.
- Alphabet worksheets for letter of the week packs and look-alike letters.
- Beginning sounds worksheets for the S, A, T, P, I, N sequence.
- Uppercase vs lowercase letters to decide which to teach first.
- How to teach a child to write their name for a meaningful first set of letters.
Sources
Milestone information comes from the CDC’s 5-year milestone checklist. Letter recognition wording comes from the Common Core State Standards for kindergarten foundational skills. Descriptions of the Handwriting Without Tears groupings and the uppercase-versus-lowercase discussion come from the OT Toolbox article on the Handwriting Without Tears letter order. Programs differ, and children vary, so treat every sequence here as a guide.
Frequently asked questions
7 quick answers
What is the best letter formation order?
Most teachers use stroke-based groups: straight-line letters first, then curves, then letters that combine them, and slanted letters last. It gives young writers easy wins first. Alphabetical order is better for songs than for handwriting, and no single sequence is official, so adjust to the child.
Which letters should I teach first?
For handwriting, start with the capital letters L, F, E, H, T and I, which use only straight lines. For reading, many phonics programs begin with S, A, T, P, I and N. You can blend the two by practicing the easy letters of the sound set first.
Should I teach uppercase or lowercase letters first?
Capitals are usually first because the strokes are simpler and there is less to confuse. Research is mixed, so it is not a strict rule. Add lowercase as soon as capitals feel comfortable, because most of what children read is in lowercase.
How long does it take to teach all the letters?
Many classrooms introduce about one letter a day or a few a week, but forming letters well takes longer than recognizing them. Expect several months for most children to write all 26 capitals and lowercase letters neatly. Go at a pace the child can keep up without tears.
How do I teach letter formation at home?
Keep sessions short, say the same stroke words each time, and move from big movements to paper. Trace in sand, build with dough, write in the air, then trace and copy on lined paper. Ten focused minutes beats thirty tired ones.
Why does my child write letters backward?
Reversals are common in the early years, especially b, d, p and q. Mark the starting point, use consistent verbal cues and avoid teaching look-alike letters together. If reversals continue well into first grade and affect reading, mention it to your child’s teacher or pediatrician.
At what age should a child write letters?
The CDC lists writing some letters in the child’s name by about 5 years, and drawing a circle by 3. Many children begin earlier and many a bit later. Focus on line and shape play first, and talk with a professional if you are concerned about hand skills.